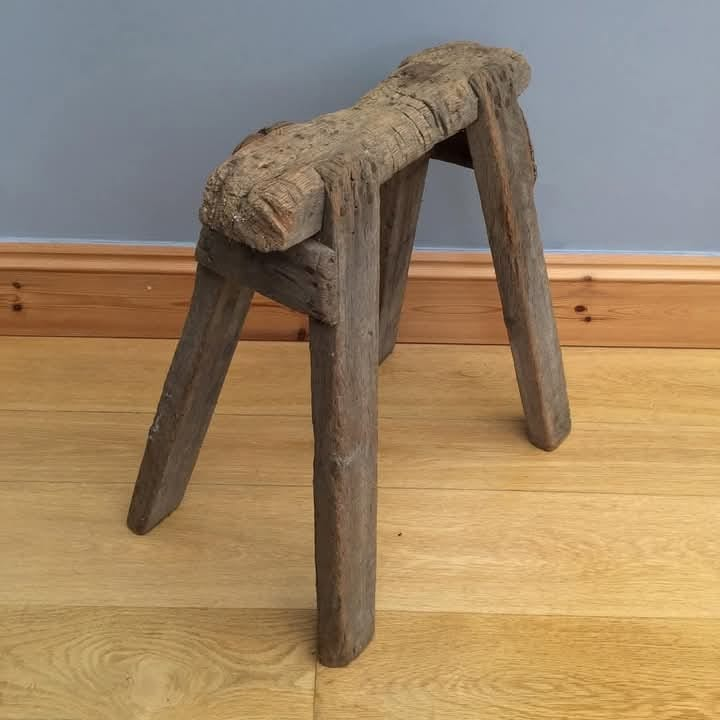
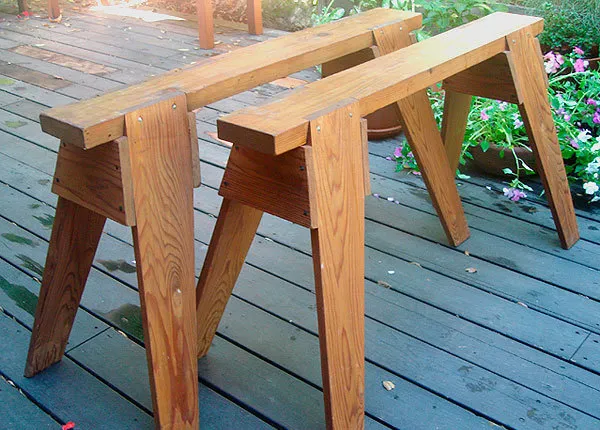
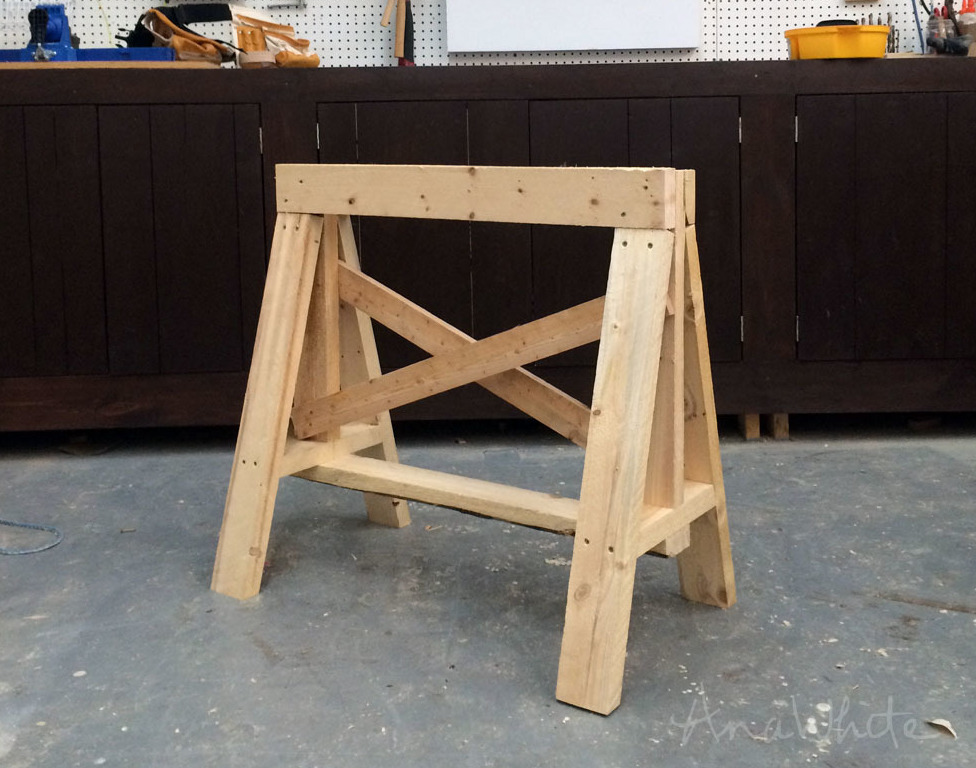
Sawhorses, often referred to as trestles or trestle benches by seasoned carpenters, are a fundamental yet essential tool for any workshop or construction site. While their design may seem simple, crafting a well-made sawhorse is an art that tests a carpenter’s skill and precision. Once a rite of passage for apprentices, sawhorse making remains a practical exercise that combines functionality with timeless craftsmanship.
Let’s explore the enduring utility of sawhorses, their versatile designs, and step-by-step tips for building your own sturdy and reliable pair.

The Role of Sawhorses in Carpentry
Sawhorses are indispensable for a range of tasks. Whether supporting planks for scaffolding, serving as temporary workbenches, or holding materials steady for cutting, these versatile tools simplify the work process. A properly constructed sawhorse can endure heavy loads and provide a stable platform for precision work.
Historically, sawhorses were custom-built to suit specific tasks, with old-timers often testing apprentices on their ability to create these durable supports. The design could vary depending on the intended use, but stability, portability, and longevity were always top priorities.
Essential Features of a Well-Made Sawhorse
- Height and Stability:
A typical sawhorse is knee-high, around 24 inches tall. This height is practical for both cutting materials with a handsaw and for general support tasks. For specific jobs, such as working on high ceilings or trimming crown moldings, longer or shorter legs can be adapted. - Strength and Durability:
For heavy-duty tasks, the top beams of a sawhorse are often made from on-edge 2x6s or 4x4s, while legs might be cut from 2x4s or 1x8s. For lighter, more portable sawhorses, thinner stock can be used without sacrificing stability. - Multi-Functionality:
Adding features like shelves or slots enhances the sawhorse’s utility. A shelf between the legs, for instance, provides additional storage for tools and materials while reinforcing the structure. - Splay Angles for Stability:
The key to a stable sawhorse lies in its splayed legs, which angle outward in two directions. This ensures that the sawhorse remains steady, even under significant weight or when a worker stands on the edge of the beam.
Building a Sawhorse: Step-by-Step Guide
1. Gather Your Materials
- A straight 2×4 or 2×6 for the top beam (42 inches recommended).
- Four legs made from 2x4s, typically cut to 26 inches for a 24-inch-high sawhorse.
- Plywood scraps for gussets or braces.
- Nails, wood glue, and screws for assembly.

2. Mark and Cut the Legs
To achieve the necessary compound angles for stability, use a framing square with a 4-in-24 layout. This means setting the leg 4 inches from the end of the top beam and angling it outward.
- Measure and mark the angles on the legs using a sliding T-bevel or framing square.
- Cut the legs to size, ensuring the tops and bottoms align with the correct angles. A handsaw or power saw with a bevel setting will work for this step.
3. Create Mortises for the Legs
- Measure 4 inches from each end of the top beam and mark the positions for the leg mortises.
- Use a saw and chisel to carve out gains (notches) where the legs will be secured.
- Ensure the gains slope appropriately to accommodate the compound angle of the legs.
4. Assemble the Legs and Top Beam
- Apply wood glue to the gains before fitting the legs into place.
- Secure the legs with 8d nails, ensuring a snug fit without forcing them into position.
- Test the sawhorse on a flat surface to confirm it stands without wobbling.
5. Add Gussets for Extra Stability
- Cut trapezoidal gussets from ½-inch plywood, aligning their sides with the 4-in-24 angle.
- Attach the gussets to the legs and beam using glue and drywall screws, ensuring the legs maintain their proper alignment.
6. Optional Enhancements
- For added utility, install a shelf between the legs using a 1×12 board. Secure it with strips of 1×2 along the edges to prevent tools from rolling off.
- To protect the top beam, cover it with a strip of plywood, glued (not nailed) to prevent damaging saw blades.

Practical Variations for Specific Tasks
- Adjustable Height:
Longer legs can be used temporarily for scaffolding, then shortened as needed. - Custom Slots for Ripping:
Adding a slot to the top beam allows the material to be fully supported during rip cuts, making it easier to handle longer pieces. - Compact Designs for Close Work:
Shorter legs, about 12 inches high, create a low sawhorse ideal for trim work or overhead installations.
Common Mistakes to Avoid
- Using Drywall Screws in Load-Bearing Areas:
Drywall screws are brittle and can snap under heavy loads. Always use nails or structural screws for connections subject to stress. - Skipping Proper Measurements:
Accurate angles and cuts are crucial for stability. Take time to double-check measurements before assembly. - Neglecting Reinforcement:
Gussets and braces are essential for maintaining the sawhorse’s structural integrity, especially under heavy loads.
The Lasting Value of a Good Sawhorse
A well-crafted sawhorse is more than a tool—it’s an investment in efficiency and safety. With careful construction, a sawhorse can last for years, enduring countless projects and proving its worth time and again.
In an age of mass-produced tools, building your own sawhorse is a nod to the traditions of craftsmanship and self-reliance. It’s a reminder that sometimes, the simplest tools are the most indispensable.
Conclusion
Crafting a sawhorse might seem like a straightforward task, but it’s an exercise in precision, problem-solving, and respect for timeless techniques. Whether you’re an experienced carpenter or a DIY enthusiast, taking the time to build a reliable sawhorse will pay dividends in your projects.
So, roll up your sleeves, gather your tools, and embrace the satisfaction of creating something with your own hands. After all, a sturdy sawhorse isn’t just a tool—it’s a testament to your skill and dedication.