Discovering a scratch on your car can be a real bummer, but it doesn’t have to spell disaster. Whether it’s a barely-there mark from a rogue branch or a deeper notch that exposes the metal beneath, there’s a solution for every level of damage. In this article, we’ll explore simple, cost-effective DIY methods to restore your car’s finish and protect it from further harm. Let’s roll up our sleeves and dive into the world of scratch removal!
Understanding the Impact of Car Paint Scratches
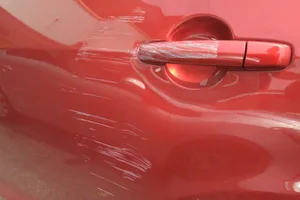
Every car owner dreads those unsightly scratches. Not only do they ruin the aesthetic appeal of your ride, but they also open the door for rust and corrosion if left unattended. When you see a scratch, it’s important to assess its severity. Is it just a surface blemish, or does it cut deep enough to expose the underlying metal? This initial check can save you time and money by helping you decide whether a simple DIY fix is enough or if a professional touch is needed.
Have you ever run your fingernail over a scratch only to feel it catch? That’s your cue! If your nail glides smoothly over the surface, you’re dealing with a minor scratch that’s perfect for a DIY repair. On the other hand, if your nail catches, you might be looking at something more serious. Either way, knowing the difference is key to a successful repair.
Simple Methods for Removing Barely-There Scratches
When a scratch is barely noticeable, you can often fix it with items you already have at home. These shallow scratches, often caused by everyday wear and tear, require gentle treatment to avoid damaging your car’s finish further.
Tools and Materials You’ll Need:
- 3000-Grit Sandpaper: This ultra-fine sandpaper smooths out the rough edges without stripping too much of the surrounding paint.
- Microfiber Towel: Essential for cleaning and drying the area.
- Polishing Compound: Helps blend the scratch back into the surrounding paint.
- Toothpaste (Optional): Yes, you read that right! Toothpaste acts as a mild abrasive and can work wonders on the shallowest scratches.
Step-by-Step Process:
- Clean the Area: Begin by washing the scratched area with soap and water. A clean surface ensures that you’re not rubbing dirt into the scratch.
- Sand Gently: Dampen the scratch slightly and use your 3000-grit sandpaper to lightly sand over the scratch. The goal is to smooth the scratch until it starts to fade.
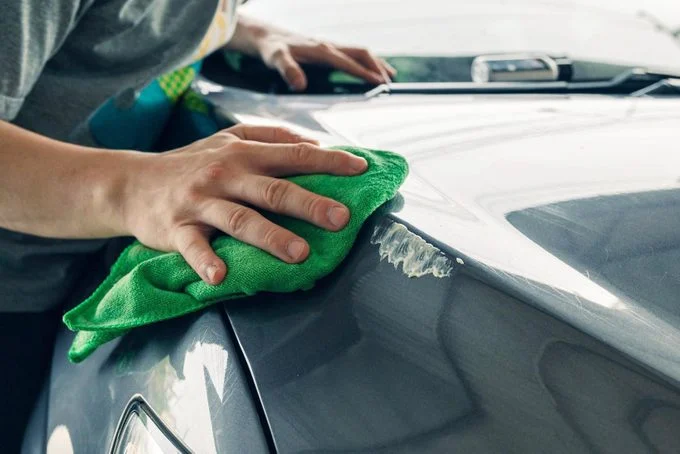
- Apply a Polishing Compound: Once you’ve sanded the area, wipe it clean with a microfiber towel. Then, apply a small amount of polishing compound to the area and work it into the paint using a soft pad or even your fingertip.
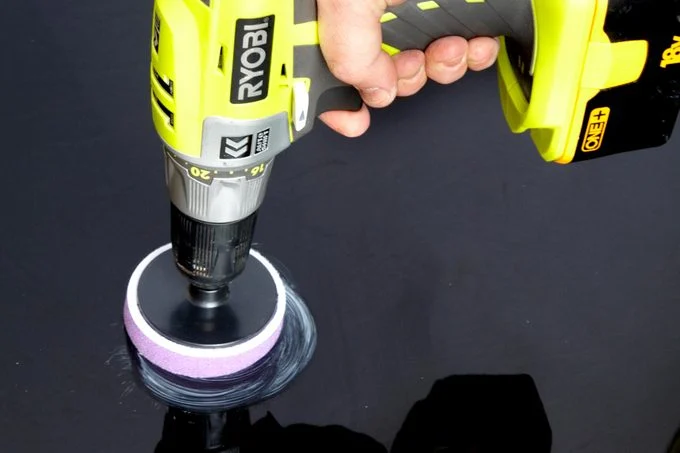
- Buff the Area: Use a circular motion to buff the compound into the surface. This helps restore the shine and makes the scratch less noticeable.
If you’re in a pinch and can’t find fine sandpaper, try the toothpaste method. It’s not as effective for deeper scratches, but it can work well for those light marks that just need a bit of buffing.
Techniques for Removing Small, Noticeable Scratches
Sometimes, the scratches are more than just a whisper on your car’s surface. They might catch your eye and make you wonder if they’ll eventually lead to bigger problems. Small scratches that catch your nail but don’t expose the metal can still be remedied with a little more elbow grease.
What You Need:
- Scrubbing Pad: Helps to distribute the compound evenly.
- Rubbing Compound: A more robust solution for minor scratches that require a bit more abrasion.
- Microfiber Towel: Always essential for a streak-free finish.
Step-by-Step Process:
- Apply Rubbing Compound: Squeeze out a quarter-sized dollop of rubbing compound onto your scrubbing pad. Start by gently working it into the scratch. The compound helps to smooth out the paint, gradually reducing the appearance of the scratch.
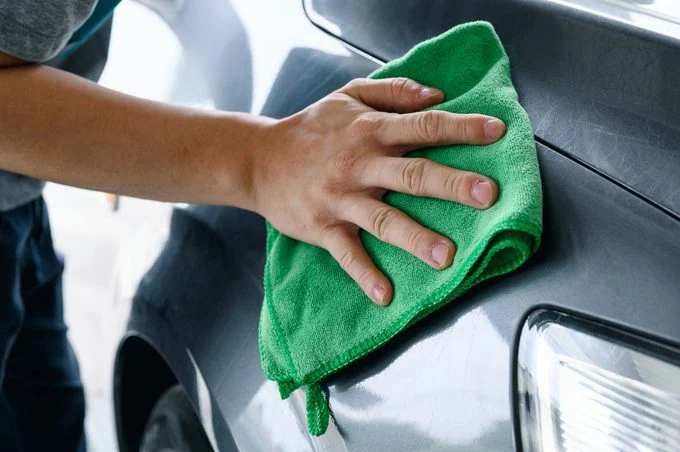
- Wipe Clean: After a thorough application, use a microfiber towel to wipe away any excess compound. You might notice the scratch fading with each pass.
- Repeat if Necessary: If the scratch is still visible, don’t hesitate to repeat the process two or three times. Consistency is key, and a little repetition goes a long way toward achieving a flawless finish.
This method is a favorite among DIY enthusiasts because it’s simple, cost-effective, and can be done in your own driveway. Remember, the key is to work gradually and not rush the process. Patience will pay off with a smoother, more uniform finish.
Handling Deep Scratches That Reach the Metal
Now, what if the scratch is too deep? When you can see the metal beneath the paint, it’s time to step up your game. Deep scratches require a bit more work, but with the right tools and techniques, you can still restore your car’s look without breaking the bank.
Essential Tools and Materials:
- Sandpaper (Fine Grit): To remove the damaged paint without causing further harm.
- Polishing Pad: For blending the new paint with the existing finish.
- Microfiber Towel: For cleaning and final buffing.
- Masking Tape and Paper: To protect areas around the scratch during repair.
- Automotive Primer and Paint: These will help rebuild the paint layer where it has been removed.
- Car Wax: For the finishing touch to seal and protect the repaired area.
Step-by-Step Process:
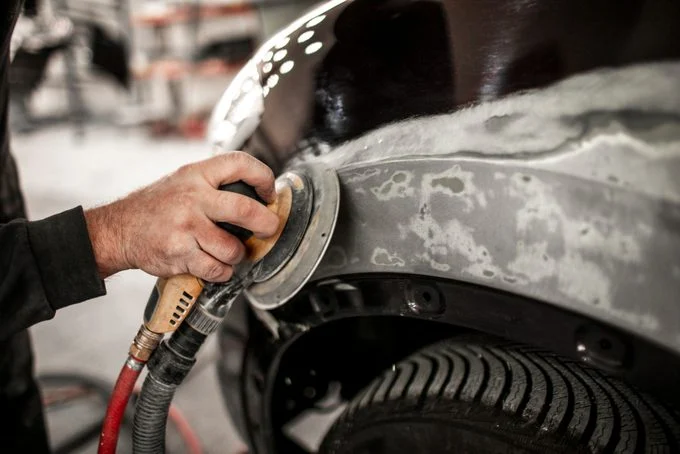
- Clean and Sand: Start by washing the area around the scratch to remove any dirt and debris. Use fine-grit sandpaper to sand down the scratch until you see the metal. This step is crucial for ensuring that the new paint adheres properly.
- Mask Off the Area: Apply masking tape and paper to protect the surrounding areas. You want to focus solely on the scratch without affecting the rest of your car’s finish.
- Apply Automotive Primer: Spray or brush a thin layer of automotive primer onto the sanded area. Allow it to dry completely before moving on to the next step.
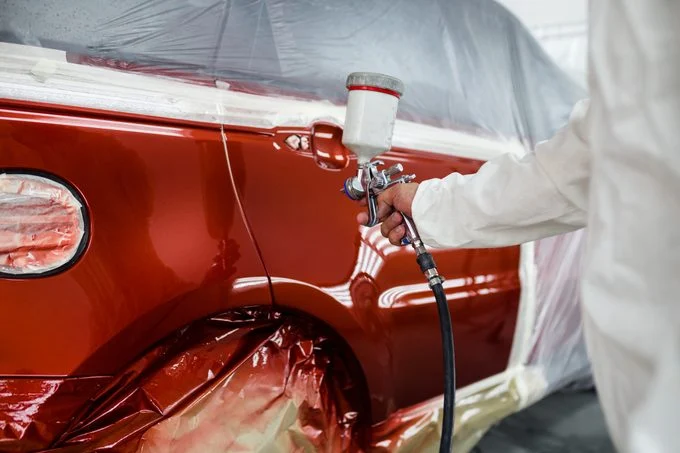
- Paint the Scratch: Once the primer is dry, apply automotive paint that matches your car’s color. Use light, even strokes to build up the paint gradually.
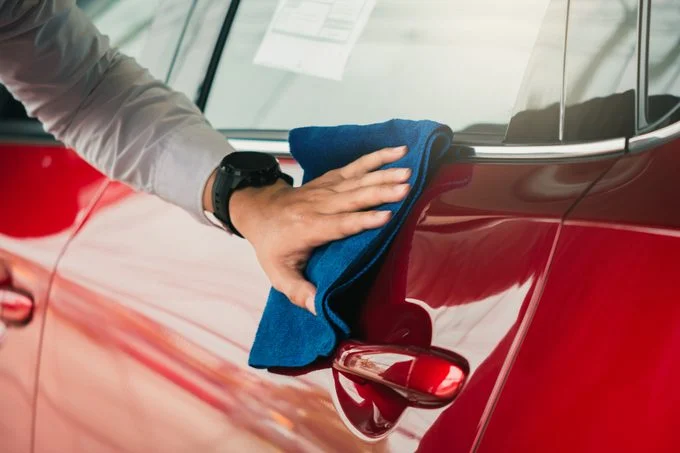
- Polish and Buff: After the paint has dried, polish the area using a polishing compound and a microfiber towel. Buffing helps blend the new paint with the old, ensuring that the repair is as invisible as possible.
- Seal with Wax: Finally, apply a layer of car wax over the repaired area. This not only protects the new paint but also gives your car a polished, uniform look.
Deep scratches may seem intimidating, but by taking a methodical approach, you can manage them effectively. If you ever feel unsure, don’t hesitate to consult a professional – sometimes, a little expert advice can save you a lot of time and effort.
Tips and Tricks for a Flawless Finish
Even if you’re confident in your DIY skills, here are some handy tips to ensure that your scratch removal project is a success:
- Test in a Small Area First: Always start by testing your method on a small, inconspicuous area of your car. This helps you gauge how the paint will react and prevents any major mishaps.
- Work in a Shaded Area: Direct sunlight can interfere with the drying and curing process. Try to work in a shaded area or during cooler parts of the day.
- Don’t Rush the Process: Whether you’re dealing with a minor scratch or a deep gouge, take your time. Rushing can lead to uneven results and may even worsen the damage.
- Keep Your Tools Clean: Dirty sandpaper or pads can introduce additional scratches. Make sure your tools are clean before you begin.
- Regular Maintenance: Regularly washing and waxing your car can help protect the paint from future scratches. Think of it as a regular health check for your vehicle.
These small details can make a significant difference in the outcome of your repair job. With the right mindset and a bit of practice, you’ll find that removing car paint scratches can be a straightforward, even enjoyable, DIY project.
Choosing the Best Products for Your Car’s Needs
There are countless products on the market, and choosing the right one can feel overwhelming. However, the best products for scratch removal are those that are designed with your specific needs in mind.
- High-Quality Sandpaper: Invest in sandpaper with the appropriate grit for your scratch’s severity. Fine-grit options, such as 3000-grit, are ideal for delicate jobs.
- Effective Polishing Compounds: Look for compounds that have proven effective in restoring shine without being overly abrasive.
- Trusted Automotive Paints: When repairing deeper scratches, opt for paints that match your car’s original color. Many automotive stores offer custom-matched options.
- Reliable Rubbing Compounds: A good rubbing compound is a must-have for smoothing out scratches. Choose a product that offers a balance between effectiveness and gentleness on your car’s surface.
Reading reviews and seeking recommendations from fellow car enthusiasts can also steer you toward the best products available. The right tools make all the difference in achieving a professional-looking finish.
The Benefits of DIY Car Scratch Removal
DIY car maintenance projects, like removing paint scratches, empower you to take control of your vehicle’s appearance. Not only does it save you money, but it also gives you a sense of pride in maintaining your car. Imagine the satisfaction of seeing that once-noticeable scratch fade away under your own skilled hands!
- Cost Savings: Avoid the high fees of body shops by handling minor repairs yourself.
- Skill Development: Every DIY project teaches you something new. With each scratch you repair, your confidence and skills grow.
- Convenience: No need to schedule appointments or leave your car at the shop. With a little time and effort, you can repair scratches at your own pace and in your own space.
By tackling these small projects yourself, you not only maintain the appearance of your car but also develop a deeper understanding of automotive care. It’s a win-win situation that adds value to your vehicle and your skill set.
Conclusion: Revitalize Your Car’s Look One Scratch at a Time
Scratches on your car’s paint may seem like a minor inconvenience, but addressing them promptly is key to maintaining your vehicle’s value and appearance. From barely-there marks that can be buffed out with household items like toothpaste to deeper scratches that require sanding, priming, and repainting, there’s a method for every level of damage. With a little patience, the right tools, and these step-by-step techniques, you can transform your car’s look and protect it from future wear and tear.
Whether you’re a seasoned DIY enthusiast or a first-timer looking to try something new, removing car paint scratches is an achievable task that rewards your effort with a flawless finish. So next time you notice a scratch, remember that with a bit of determination and the tips shared here, you can restore your car’s beauty without breaking the bank. Happy repairing!