A quick challenge before you scroll
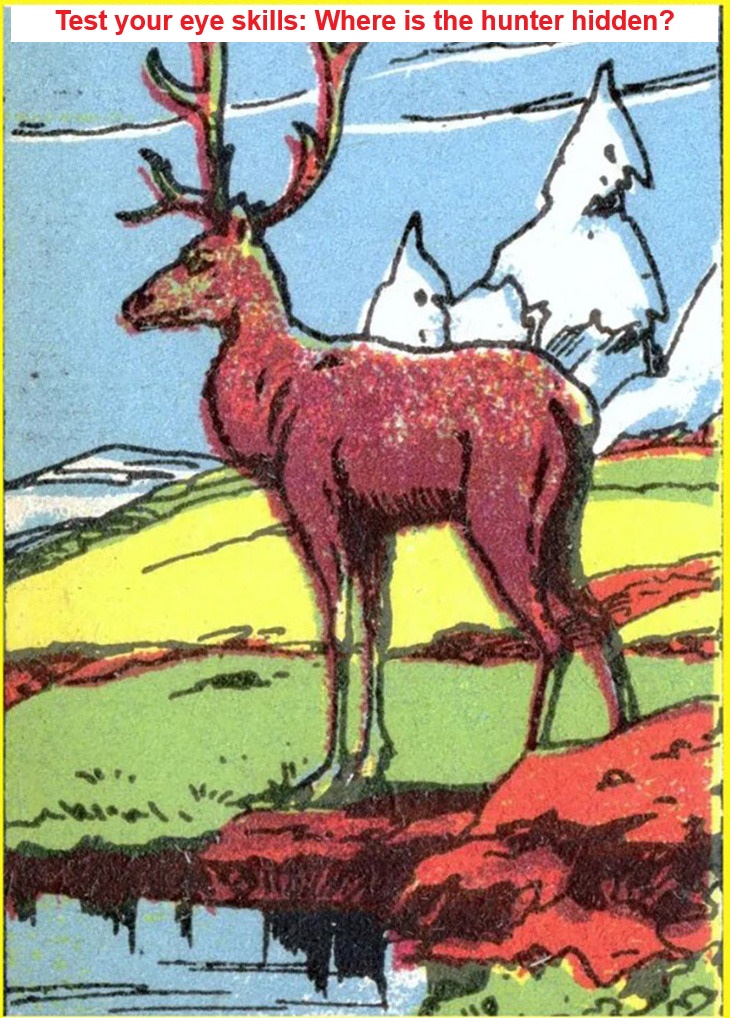
Take a close look at the vintage illustration above: a stag stands by a stream with snowy peaks in the distance. It feels peaceful—until you learn there’s a hunter hiding right in front of you. Can you spot him without hints? Give yourself 30–60 seconds, zoom in if you’re on mobile, and lock in your guess. Where do you see a face, a hat brim, or the line of a rifle? Don’t peek yet—test your perception first.
Why this “simple” picture fools sharp eyes
Spot-the-hidden-figure art thrives on the way our brains process scenes. We prioritize the main subject (the stag) and demote “background” textures (rocks, grass, and reflections). Artists exploit three quirks:
- Figure–ground bias: Once the deer becomes “figure,” everything else becomes “ground,” so your brain stops scrutinizing the edges where disguises live.
- Texture camouflage: Repeating colors (earthy reds, mossy greens) make man-made shapes—like a hat brim or barrel—blend into terrain.
- Expectation lock: You scan where a hunter “should” be (behind trees, near the horizon), not where he actually is (low, near the frame edge).
Common mistakes that make you miss the hunter
- You scan only the middle. Most viewers circle the stag’s head and antlers and rarely audit the frame’s corners.
- You chase big outlines. A crouched human breaks into small cues—hat, cheek, knuckles—not a full silhouette.
- You ignore shadow logic. Natural rocks cast soft, irregular shadows; a rifle or nose bridge creates sharp, linear contrasts.
- You don’t flip your attention. If you never alternate between “deer first” and “background first,” your brain won’t promote the hidden figure to “figure” status.
Video : Can you find all the hidden animals? – QUIZ
Your step-by-step method to break the illusion
Use this checklist to solve puzzles like this quickly—and to train your “eagle eyes” for future challenges:
- Soft-focus scan (2 passes). Let your eyes float over the entire image to sense any corner that “feels” different—odd symmetry, unusually straight angles, or highlights that look man-made.
- Divide the scene into zones. Top sky, mountain band, mid-ground hills, deer, shoreline, water reflection, and frame edges. Commit to clearing each zone once.
- Silhouette tracing. Follow the outer edge of the stag and the shoreline. Hidden figures often sit where two contrasting color fields meet.
- Edge audit. Hunt for lines that are too straight for geology: a hat brim, rifle barrel, or the flat plane of a cheek.
- Light logic check. Ask: Does this highlight or shadow belong to a rock? If it forms a triangle (hat), ellipse (eye socket), or cylinder (barrel), flag it.
- Corner sweep. Corners are classic ambush spots. Do a final slow pass around all four, bottom edge last—many artists hide reveals there so they emerge only at the end.
Walkthrough: find the hunter together
If you’ve tried your best, here’s the guided reveal so you can verify your hunch and learn the cues your eyes missed:
- Start at the stag’s forelegs and slide your gaze down along the shoreline to the bottom edge of the frame. Notice how the red rocks break into green moss and pale stone.
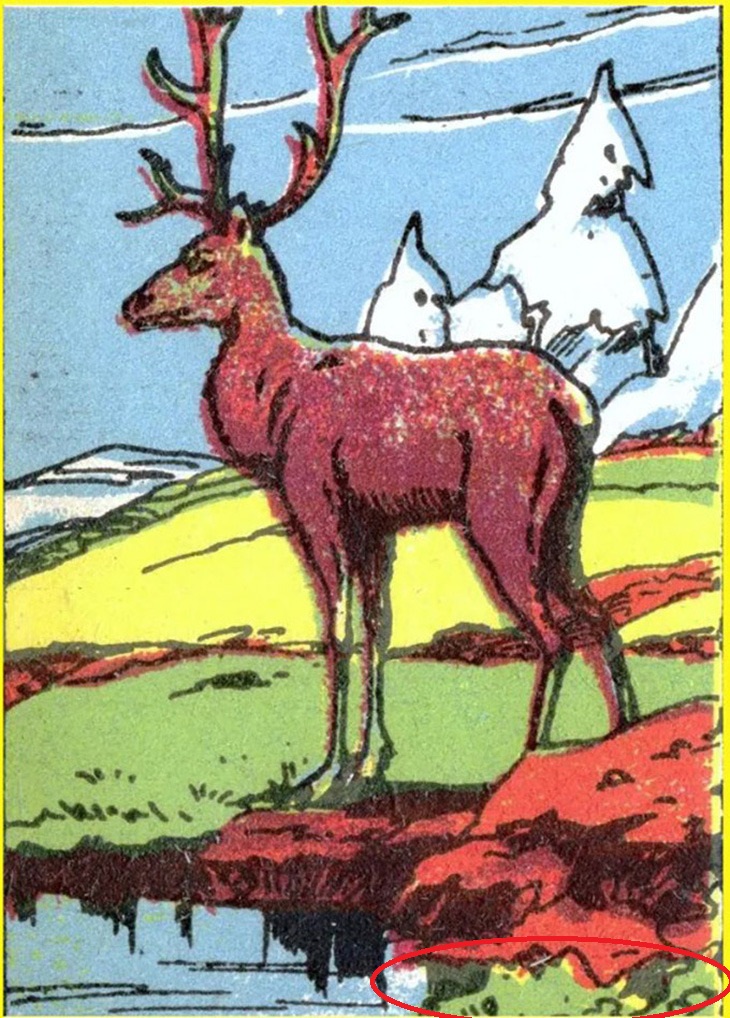
- At the bottom-right corner, the rock and moss pattern suddenly forms human geometry: a diagonal line like a rifle barrel, a darker wedge like a hat brim, and a soft oval suggesting a cheek/temple. The negative space between rock slivers defines the face profile aiming left toward the deer.
- Once the brim “clicks,” the rest of the figure pops: you read the crouched posture, shoulder mass tucked behind a boulder, and a forearm anchoring the rifle.
The exact answer
The hunter is hidden at the very bottom right of the image, camouflaged among the rocks and moss beside the waterline. Look for the brim of his cap and the slim barrel angling toward the deer.
What made this hiding place so effective?
- Color assimilation: The artist reuses the same greens and reds from the landscape to paint the man’s clothing and gear, so nothing “new” enters the palette.
- Contour borrowing: The hat brim is drawn as a continuation of a rock edge, so your eye assumes it’s geology—not fabric.
- Edge-of-frame bias: We trust center content more than edge content; corners are where attention goes to die. Designers and illustrators exploit this constantly.
- Implied lines: The shoreline leads your eye horizontally; the rifle aligns with that path, hiding in the very movement the composition creates.
Train your eyes: three micro-drills for spotting hidden figures
- Corner crawl: In any image, scan the four corners first. Ask, If I were the illustrator, where would I hide the twist?
- Shape vocabulary: Practice naming primitive shapes aloud—“triangle (hat), cylinder (barrel), almond (eye), ellipse (cheek).” Naming locks attention to diagnostic cues.
- Shadow test: Trace suspicious shadows with your fingertip. Natural shadows vary randomly; man-made objects create consistent, repeating edges.
Apply the method beyond puzzles
This isn’t just for fun. Training your visual attention has real-world benefits:
- Reading charts and dashboards: You’ll spot outlier lines and mislabeled axes faster.
- Driving and cycling: Edge-of-frame awareness helps you notice hazards (pedestrians, scooters, pets) earlier.
- Creative review: Designers and photographers catch tangent lines, awkward mergers, and accidental illusions before they ship.
Video : Hidden Object Game – OPTICAL ILLUSION PUZZLE | Emoji Quiz 🔎
Still stuck? Try the “contrast flip” trick
If the hunter won’t appear, squint slightly or step back from the screen to simplify colors into bigger masses. This reduces texture noise and lets the hat brim vs. moss contrast jump forward. On phones, a quick screenshot plus turning the brightness down by 10–15% can have the same effect—small man-made lines pop when the palette compresses.
Share your time and your route
How long did it take you to find the hunter? Which clue unlocked it—the brim, the barrel, or the face profile? Tell us your time, your first guess, and your final “aha!” in the comments. Then pass the image to a friend and see who earns bragging rights. Bonus points if you record your screen and show your scan path—were you a center-first or corner-first solver?
Conclusion: sharpen your focus, one puzzle at a time
Hidden-figure illustrations like this one teach a powerful lesson: the quickest way to see more is to slow down and look smarter, not harder. When you break a scene into zones, test the logic of shadows, and respect the corners, illusions lose their grip. In this picture, the hunter hunkers at the bottom-right corner, invisible only to eyes that hurry past the edges. Keep training with challenges like this, and you’ll build a sharper, calmer, more analytical gaze—useful far beyond a single stag by a stream. Ready for round two?